The Complete Guide to Custom Ceramic Mug Manufacturing: From Design to Delivery
The Complete Guide to Custom Ceramic Mug Manufacturing: From Design to Delivery
Every custom ceramic mug that arrives at your warehouse begins as raw earth -- a mixture of minerals that has been formed, shaped, fired, and finished through a precise industrial process. For importers, brand owners, and procurement managers, understanding each step of ceramic mug manufacturing is the difference between placing a confident order and discovering problems when it is too late to fix them. This comprehensive guide walks through every stage of professional ceramic mug production, from the raw materials to the packed carton ready for shipping. Whether you are ordering 500 mugs for a coffee shop chain or 50,000 for a global promotion, this knowledge will help you evaluate suppliers, set realistic timelines, and recognize quality work when you see it.
Step 1: Raw Materials and Clay Preparation
The journey of every ceramic mug begins with minerals extracted from the earth. Professional ceramic factories use a carefully proportioned blend of four primary ingredients to create the clay body -- known as slip in its liquid form -- that will become your mug. Each ingredient plays a specific role in determining the final product's color, strength, and performance.
Kaolin, also called China clay, provides whiteness and plasticity. It is the backbone of fine ceramics, giving the mug its smooth surface and pure white or ivory base color that is essential for sublimation printing and bright color reproduction. Ball clay adds additional plasticity and workability, helping the body hold its shape during forming and dramatically reducing the risk of cracking during drying. Feldspar acts as a fluxing agent, lowering the firing temperature and promoting vitrification -- the glassy phase that makes the mug non-porous, strong, and food-safe. Quartz, or silica, provides structural integrity and thermal shock resistance, which is what allows your mug to withstand boiling water, microwave heating, and dishwasher cycles without cracking.
These minerals are ground into fine powder, precisely weighed according to the factory's proprietary formula, and mixed with water in large industrial blenders to create a homogeneous slurry. The slip is then screened through fine mesh filters to remove any impurities or oversized particles. The final and most critical preparation step is de-airing the slip in a vacuum pug mill, which removes trapped air bubbles that would otherwise create pinholes, blisters, or weak spots during firing. A single trapped air bubble can ruin an entire mug, which is why vacuum de-airing is a hallmark of a professional manufacturing operation.
Why this matters for buyers: the clay formula directly affects your mug's appearance, durability, and suitability for decoration. For pure white mugs intended for sublimation printing or bright color glazes, a high-kaolin formula with minimal iron content is essential. For stoneware mugs with a warmer, earthy aesthetic, the formula shifts to include more ball clay and iron-bearing minerals. Always confirm with your supplier which clay body they recommend for your specific design requirements and decoration method, because the wrong clay formula can make certain printing methods impossible or produce unexpected color shifts after firing.
Step 2: Shaping the Mug Body and Handle
Once the clay slip is prepared and de-aired, the mug body takes shape. Professional factories primarily use two methods for mass production, and the choice between them depends on your order volume, the complexity of your mug's shape, and your tolerance for subtle variations between pieces.
Jiggering, also known as roller forming, is the most efficient method for producing large volumes of cylindrical or slightly tapered mugs. In this process, a measured ball of firm clay is placed into a rotating plaster mold. As the mold spins at high speed, a shaped metal template called the jigger descends and presses the clay outward against the inner wall of the mold, forming the mug body in a matter of seconds. The centrifugal force combined with the template pressure ensures uniform wall thickness and a smooth interior surface. Jiggering produces exceptionally consistent mugs and is ideal for standard cylindrical, tapered, and barrel shapes where thousands to hundreds of thousands of identical pieces are needed.
Slip casting is the preferred method for complex shapes, mugs with intricate surface details, or designs that require asymmetrical or non-cylindrical forms. Liquid clay slip is poured into a multi-part plaster mold. The porous plaster absorbs water from the slip, causing a layer of solid clay to build up against the mold surface from the outside in. Once the wall reaches the desired thickness -- typically 3 to 5 millimeters for a standard mug -- the excess slip is poured out and the mold is set aside to dry. After several hours, the mold is carefully opened and the fragile mug body is removed. Slip casting allows for embossed patterns, textured surfaces, and shapes that no roller machine could produce, but it is slower and more labor-intensive than jiggering.
Mug handles are produced separately, typically using small plaster handle molds filled with slip. After the mug body reaches what potters call the leather-hard stage -- firm enough to handle without deformation but still containing enough moisture to accept attachments -- the handles are attached by hand. A skilled worker scores both the handle attachment points and the corresponding spots on the mug body, applies liquid slip as an adhesive, presses the handle firmly into place, and smooths away any excess clay. This is one of the most skill-dependent operations in the entire process. The alignment, angle, and attachment strength of the handle all depend on the artisan's hand and eye. A poorly attached handle is the most common point of failure for a ceramic mug, which is why this step warrants careful inspection in any factory you consider working with.
Step 3: Drying and Green Trimming
After shaping, the raw mug bodies must dry slowly and evenly. This is one of the most critical quality-control stages in the entire process, and it is also the step where impatient factories cause the most downstream problems. Ceramic clay shrinks as it dries, typically by 5 to 8 percent from wet to bone-dry state. If the drying happens unevenly -- for example, if the rim dries faster than the base -- the mug warps, cracks, or develops internal stresses that only become visible after firing, when it is far too late to correct them.
Professional factories place the shaped mugs on open racks in a controlled drying room where both temperature and humidity are regulated by sensors and automated ventilation. A full drying cycle for standard-sized mugs takes 24 to 48 hours. Rushing this stage with forced hot air may seem efficient, but the uneven shrinkage it causes produces a higher defect rate in the kiln, which is far more expensive than a day of extra drying time. The most reliable factories monitor moisture content with handheld meters and do not advance mugs to the next stage until the moisture reading is consistent across the entire batch.
Once the mug reaches the leather-hard stage, it moves to trimming. Skilled workers use knives, abrasive sponges, and increasingly automated trimming machines to remove seam lines left by the mold, smooth rough edges around the rim and base, clean excess clay from the handle attachment area, and stamp the factory mark or client's brand mark on the bottom. A first-pass visual inspection is performed at this stage. Mugs with visible cracks, uneven rims, or handle misalignment are removed from the batch and recycled back into raw slip. A factory that performs rigorous inspection at the greenware stage typically achieves a fired yield rate above 95 percent -- and yield rate is a number every buyer should ask about when evaluating a supplier.
Step 4: Bisque Firing -- The Transformation from Clay to Ceramic
The dried but unfired mug body is called greenware. At this stage, it is extremely fragile and can be dissolved back into slip simply by submerging it in water. The first firing, called bisque firing, is what transforms it permanently into a hard, porous ceramic material known as bisqueware.
Mugs are carefully loaded onto refractory kiln shelves or kiln cars, stacked in a precise pattern that allows heat to circulate evenly around every piece. The loaded kiln is slowly heated over 8 to 12 hours until it reaches approximately 900 degrees Celsius to 1,000 degrees Celsius, or 1,650 to 1,830 degrees Fahrenheit. The slow ramp-up in temperature is absolutely critical. If the kiln heats too quickly, water trapped within the clay's crystalline structure flashes to steam faster than it can escape through the clay's pore structure, and the mug literally explodes. An experienced kiln operator programs specific heating curves for each clay body, holding the temperature steady at critical points where chemically bound water is being released.
After reaching peak temperature, the kiln is allowed to cool slowly over another 8 to 12 hours. The mug that emerges from the bisque kiln is physically transformed. It is hard and durable and can be handled without fear of breakage. It is lighter in color, often taking on a pale pink or cream tone depending on the clay formula. It is porous, which is intentional: the open pore structure allows the mug to absorb glaze like a sponge during the next stage, creating a strong mechanical bond between the body and the glaze. And it has shrunk further -- the mug is now measurably smaller than it was as greenware, which is why mold dimensions are always calculated to account for total shrinkage across both firings.
A second quality inspection occurs after bisque firing. Mugs with cracks, warping that exceeds tolerance, kiln debris fused to the surface, or any other visible defect are removed from the batch. An experienced factory expects a bisque yield of 96 to 98 percent. If a supplier's bisque yield is significantly lower, it signals problems upstream: inadequate drying, poor clay formulation, or careless kiln loading.
Step 5: Glazing -- Applying Color, Texture, and Protection
Glazing is where your custom mug begins to look like a finished product and where the most visible quality decisions are made. Glaze is a liquid suspension of finely ground glass powder, mineral oxides for color, and various additives that control flow, suspension, and drying behavior. When fired to maturity at high temperature, the glaze powder melts into a continuous glass layer that permanently seals the porous ceramic body and creates the smooth, glossy or matte surface that customers expect.
Professional factories use three primary glazing methods, each suited to different effects. Dip glazing is the most common method for solid-color mugs. The entire bisque-fired mug is submerged in a tank of liquid glaze for a precise number of seconds, then withdrawn and allowed to drip. The thickness of the glaze coating is controlled by the viscosity of the glaze suspension and the duration of the dip. Because the bisque body is porous, it rapidly absorbs water from the glaze, leaving a uniform layer of glaze powder adhered to the surface. Dip glazing produces the most consistent coverage and is the most cost-effective method for large production runs.
Spray glazing uses compressed air to atomize liquid glaze into a fine mist that is sprayed onto the mug surface. This method is essential for ombre effects, color gradients, and two-tone designs where different areas of the mug must receive different colors. Spray glazing requires skilled operators who can control the spray pattern and density to achieve even coverage without drips or thin spots. It is also the preferred method for applying glaze to the interior of mugs that will have a different interior color than the exterior.
Two-tone and multi-color glazing combines dip and spray techniques. A common two-tone mug has a sprayed interior in one color and a dipped exterior in another. This requires masking, multiple glaze stations, and careful handling to prevent the two glaze colors from contaminating each other at the rim -- the most common defect in two-tone mugs is a blurred or messy color boundary at the lip. Factories that produce clean two-tone mugs at scale have invested heavily in training and process control for this specific operation.
The choice between matte and gloss finish is not a separate coating step but a function of the glaze formulation itself. Gloss glazes contain flux materials that allow the glassy phase to flow smoothly during firing, creating a reflective, mirror-like surface. Matte glazes contain additives such as titanium dioxide or alumina that disrupt the glassy surface at a microscopic level, creating a soft, non-reflective finish that feels velvety to the touch. Both are equally food-safe when properly formulated, and both are fully dishwasher and microwave safe. The choice is purely aesthetic, though matte finishes tend to show fingerprint marks less than glossy finishes in handling.
Step 6: Glaze Firing and Vitrification
The glazed mugs enter the kiln for their second and most critical firing. Glaze firing reaches significantly higher temperatures than bisque firing -- typically 1,200 degrees Celsius to 1,300 degrees Celsius, or 2,190 to 2,370 degrees Fahrenheit -- and transforms both the glaze layer and the ceramic body simultaneously. This is where the mug becomes the durable, non-porous, food-safe product that will serve a customer for years.
During the glaze firing, the glaze powder particles melt and fuse together, flowing into a continuous glass layer that bonds permanently to the mug surface. At the same time, the ceramic body undergoes vitrification: glassy phases form between the clay particles, filling the pore spaces and transforming the body from a porous, absorbent material into a dense, non-porous, fully sealed ceramic. Water absorption drops below 0.5 percent, which is the standard for fully vitrified tableware. Mugs that are not fully vitrified will absorb water over time through microscopic cracks or unglazed areas, leading to cracking, staining, and bacterial growth -- problems that may not appear until months after the mug is in use.
The total glaze firing cycle, including a controlled cooling phase, takes 10 to 16 hours depending on kiln type and glaze formulation. The cooling phase is just as important as the heating phase. If the kiln cools too quickly, the differential contraction between the glaze layer and the ceramic body causes crazing -- a network of fine cracks in the glaze surface. Crazing is primarily a cosmetic defect on the exterior, but on the interior of a food-contact surface, it can trap bacteria and is generally considered a quality failure for commercial food-service products.
Glaze firing is also where color develops and matures. The raw glaze applied to the bisque mug often looks nothing like the final color. Iron oxide powders may appear brown before firing but bloom into rich reds or warm ambers after the kiln. Cobalt appears gray or black before firing but transforms into deep blue after maturing. The kiln atmosphere -- whether oxidation with excess oxygen or reduction with limited oxygen -- also affects color development, particularly for copper reds and celadon greens. This is why you cannot judge a mug's final color by looking at it before firing, and why accurate color matching across production batches requires precise control of both glaze chemistry and kiln conditions.
Step 7: Quality Control, Decoration, and Packaging
After the kiln has cooled and the mugs are unloaded, every piece passes through final quality inspection. This is the last gate before the product reaches your hands, and it is where a factory's commitment to quality is most clearly demonstrated. Inspectors methodically check each mug for visual defects: pinholes in the glaze surface, blisters where gases were trapped during firing, glaze runs or drips, color spots from contamination, and kiln debris fused to the surface. They verify dimensional accuracy by spot-checking diameter, height, and capacity against the order specification using calipers and graduated cylinders. They gently stress each handle to confirm proper attachment strength. They place each mug on a flat granite surface to check for wobble caused by an uneven base. And for orders destined for regulated markets, random samples undergo lead and cadmium leaching tests according to FDA, LFGB, or California Proposition 65 standards to verify food safety compliance.
Approved mugs move to final decoration if any post-firing decoration is required. Some decoration methods, such as underglaze logos stamped before the glaze firing, are already complete at this stage and permanently sealed beneath the glaze. Others, such as overglaze decals, are applied after glaze firing and then fired a third time at a lower temperature -- approximately 780 to 850 degrees Celsius -- to fuse the decoration into the glaze surface. Laser engraving, which removes a microscopic layer of glaze to create a permanent matte design in the natural ceramic tone, is also performed at this stage.
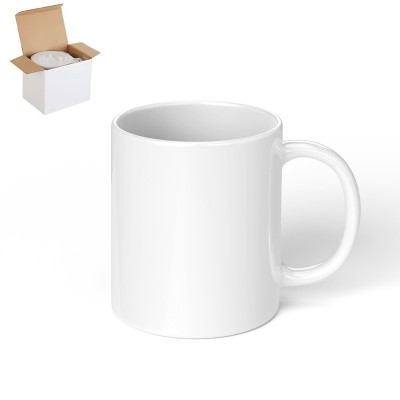
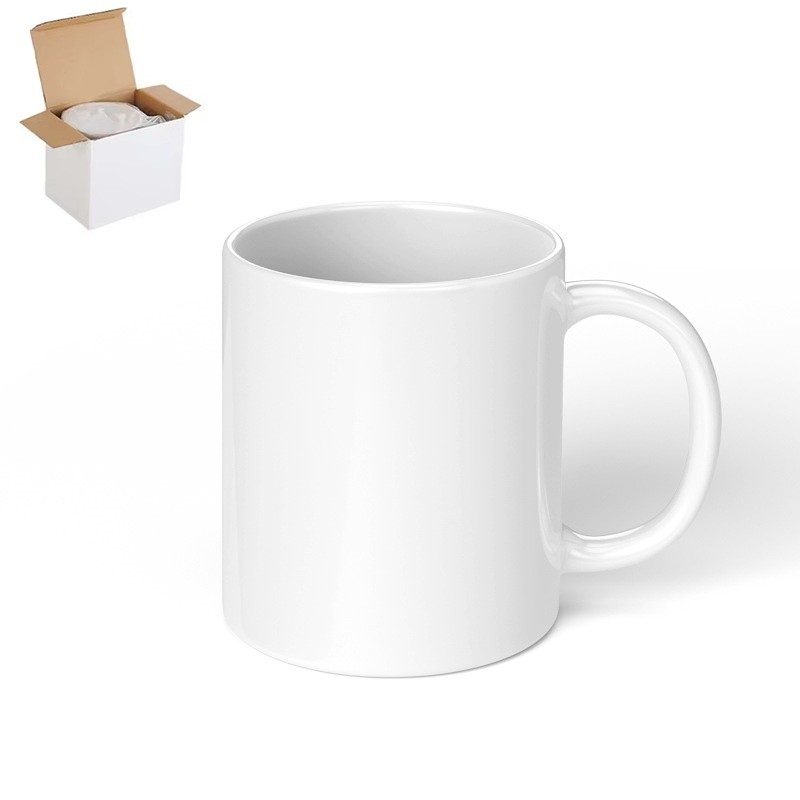
Finally, the mugs are packaged for shipment. For bulk orders, mugs are wrapped in protective paper or bubble wrap and packed in export-grade corrugated cartons with individual cell dividers that prevent the mugs from touching each other during transit. Each carton is labeled with the contents, piece count, and handling instructions. For a standard 11-ounce mug, a single 20-foot shipping container can hold approximately 30,000 to 40,000 pieces, depending on packaging configuration and whether retail boxes are included. Your supplier should provide a detailed packing list with carton dimensions, weight per carton, and total piece count to help you plan your logistics and calculate landed cost per unit.
What This Means for Your Order
Knowledge of the manufacturing process translates directly into better buying decisions. When you understand how a ceramic mug is made, you can ask your supplier the right questions: what is the clay formula, and how does it affect your decoration method? What shaping method is used, and how consistent is the wall thickness? What is the bisque and glaze firing yield rate? Is the glaze fully vitrified and tested for food safety? Do they perform dimensional spot checks and handle stress tests? A supplier who answers these questions clearly and with data is a supplier who takes quality seriously. A supplier who cannot or will not answer them is one to approach with caution.
At Storiware, we control every stage of mug manufacturing in-house, from clay preparation through final packaging. Our vertically integrated factory in China's ceramic production region gives us precise control over quality at every step, and our engineering team works directly with clients to match clay formulas, shaping methods, and decoration techniques to their specific requirements. If you are ready to start a custom mug project, browse our ceramic mug catalog or send us your design specifications. We will review your requirements and provide a detailed production plan with timelines, pricing, and quality specifications tailored to your volume and target market.
Featured Ceramic Mugs from Storiware
Explore products featured in this guide:

Need a custom quote? Send an inquiry or browse our full product catalog.